
Overview
I use VSCode all the time throughout the day. I mean, it’s my default app for writing code, jotting down quick notes with to-do items, transforming and analyzing files, or drafting blog posts (like this one). So, you could say it’s my go-to app for many things.
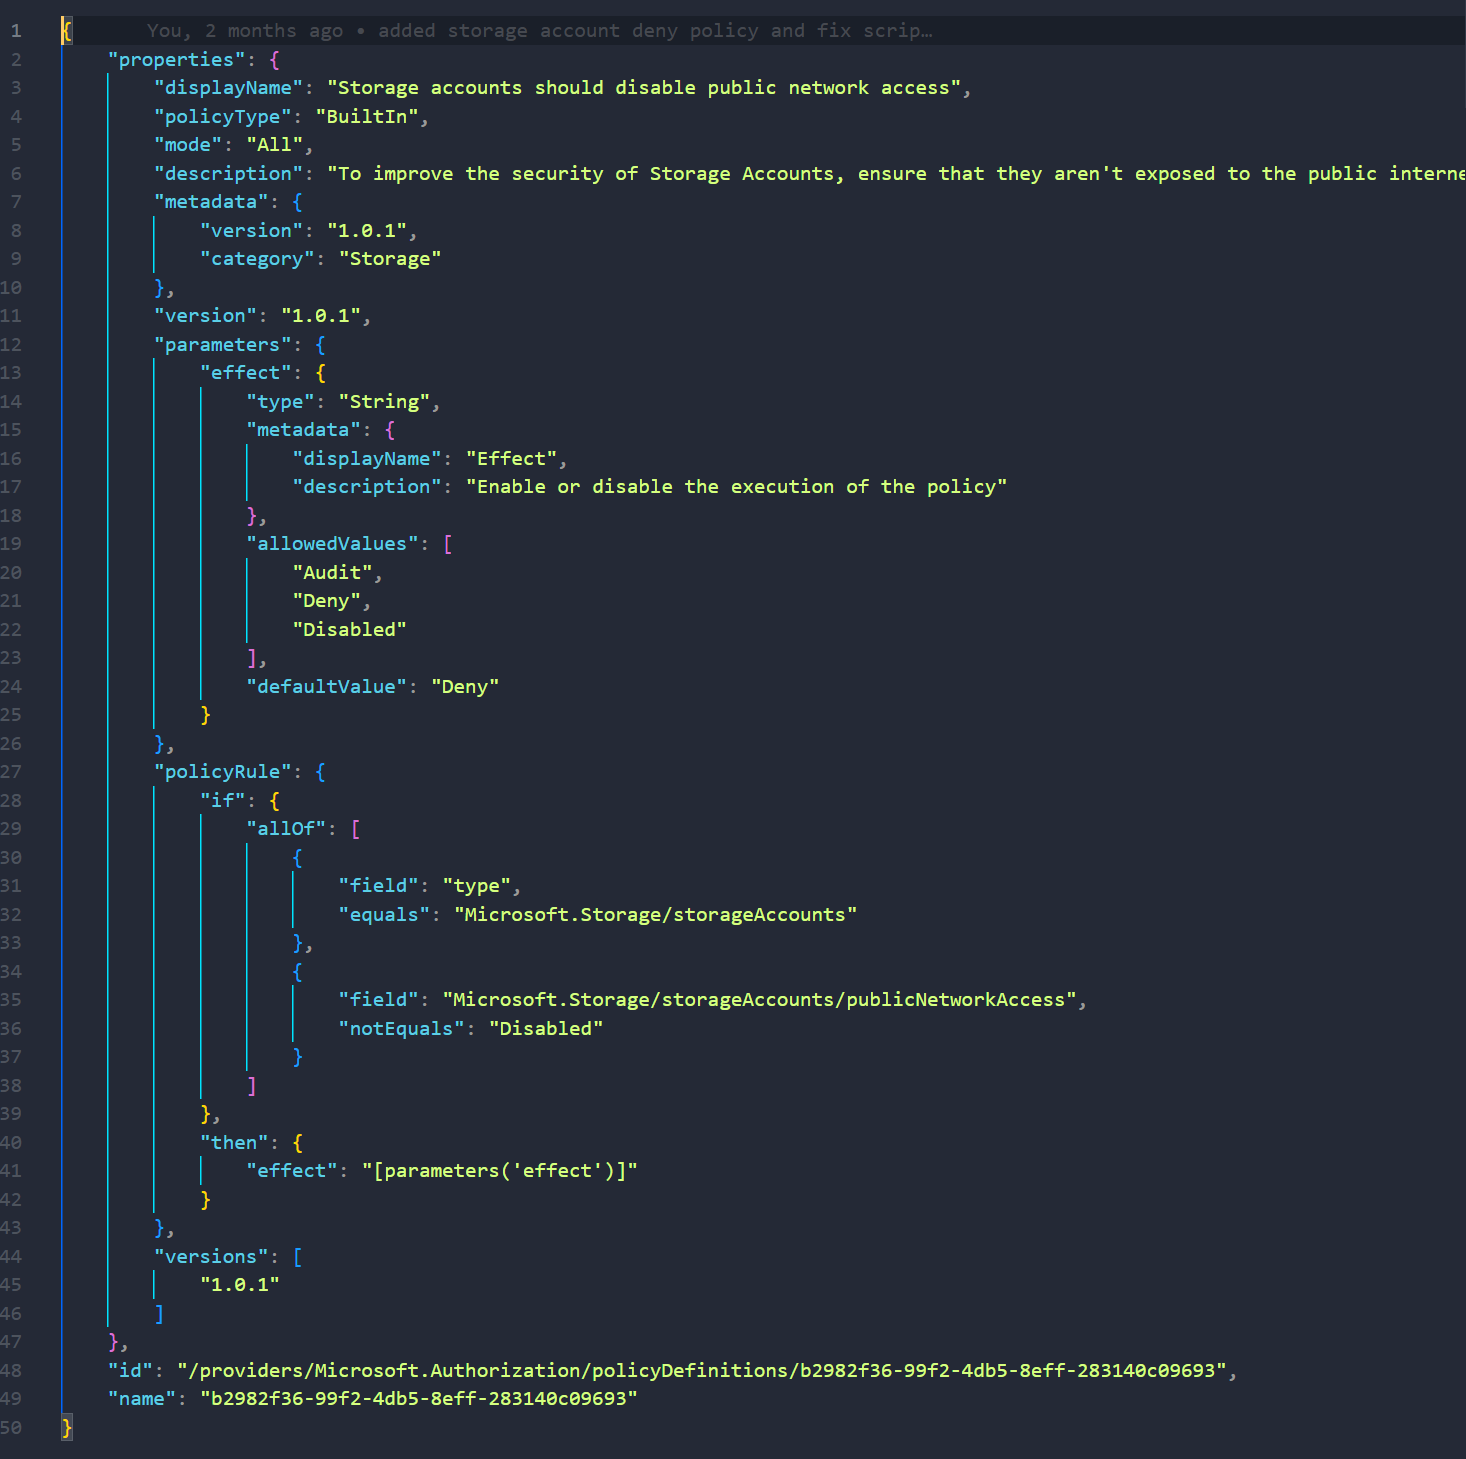
One of the best features of VSCode is the sheer number of extensions that enhance its functionality. One of them is indent-rainbow extension. It helps visualize indentation and catch pesky lingering spaces. Without the extension installed, the default view of the file looks like this (json file example):
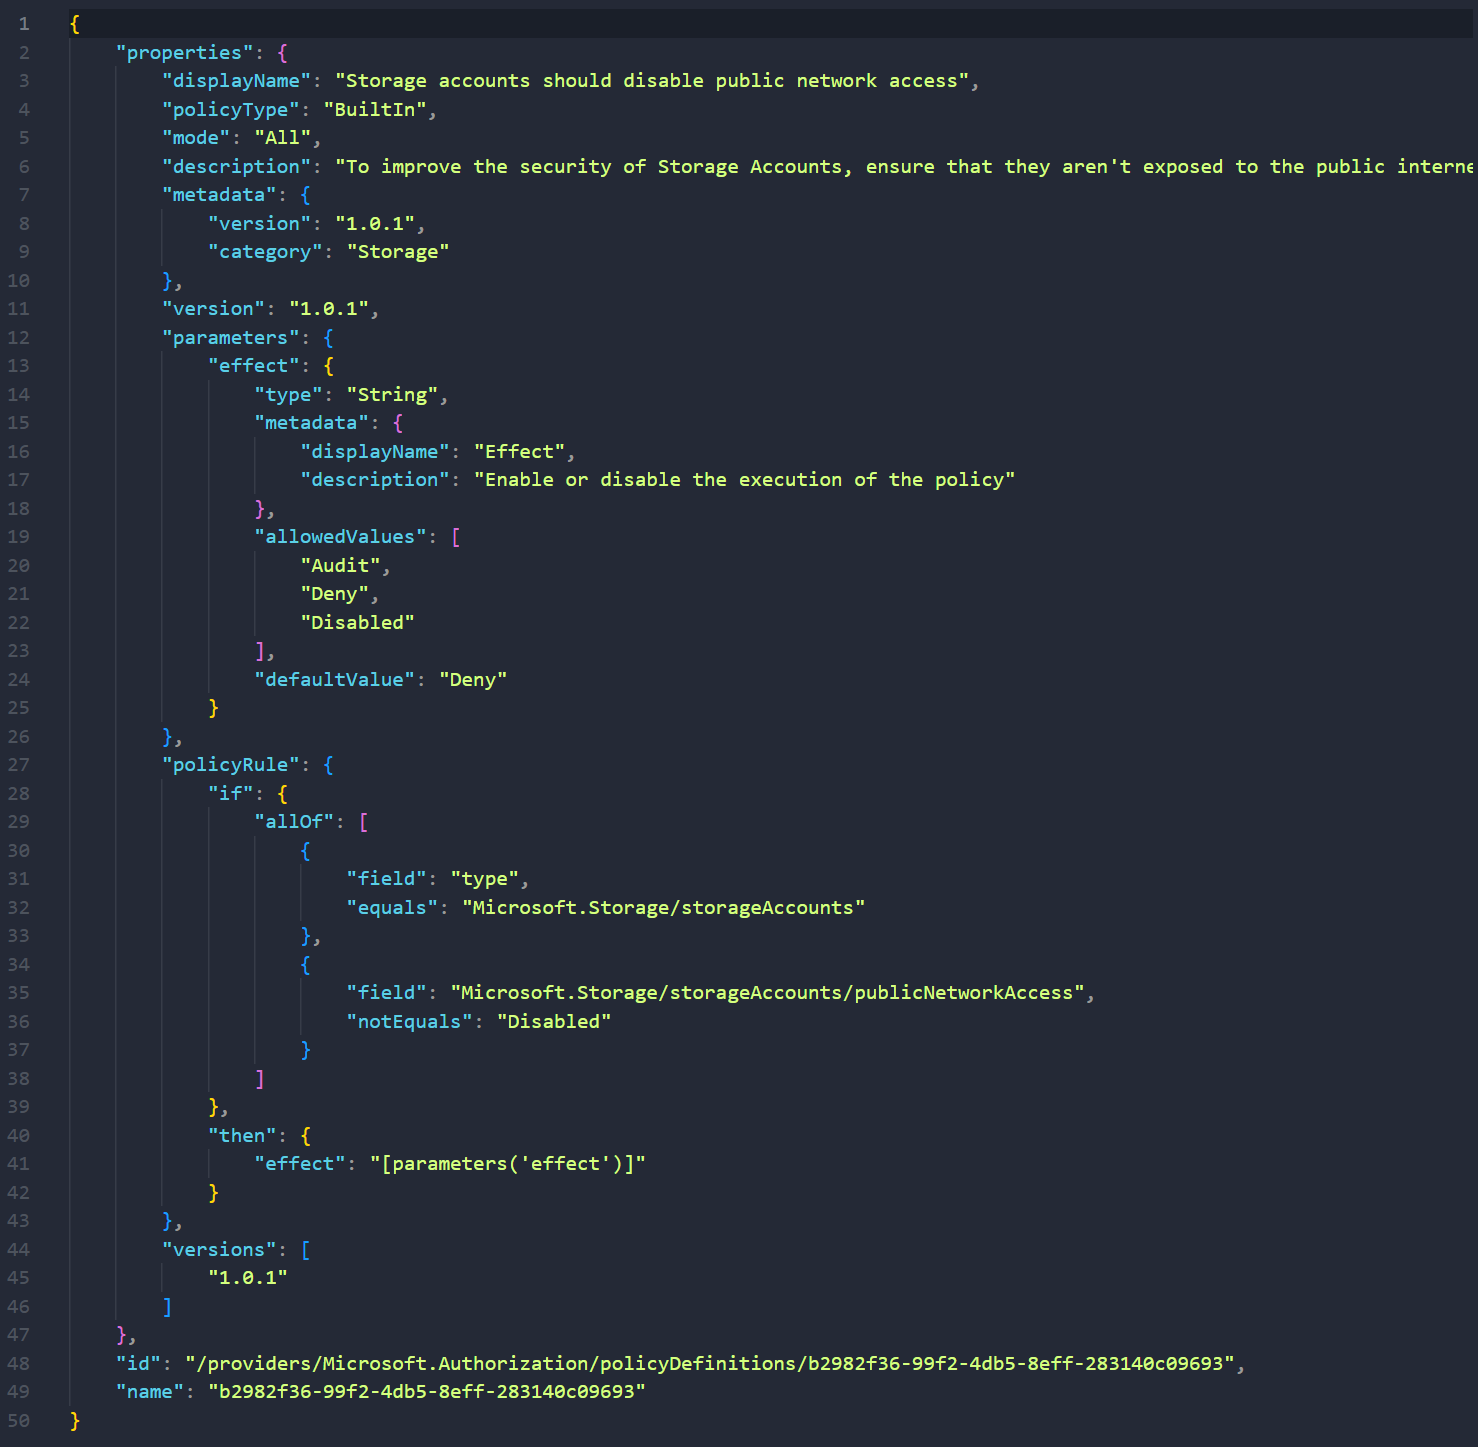
View with No Extension · Screenshot from VSCode
Here’s how it looks when you install the extension. I don’t particularly like the bars filled with colors like this. I have nothing against it — just a personal preference.
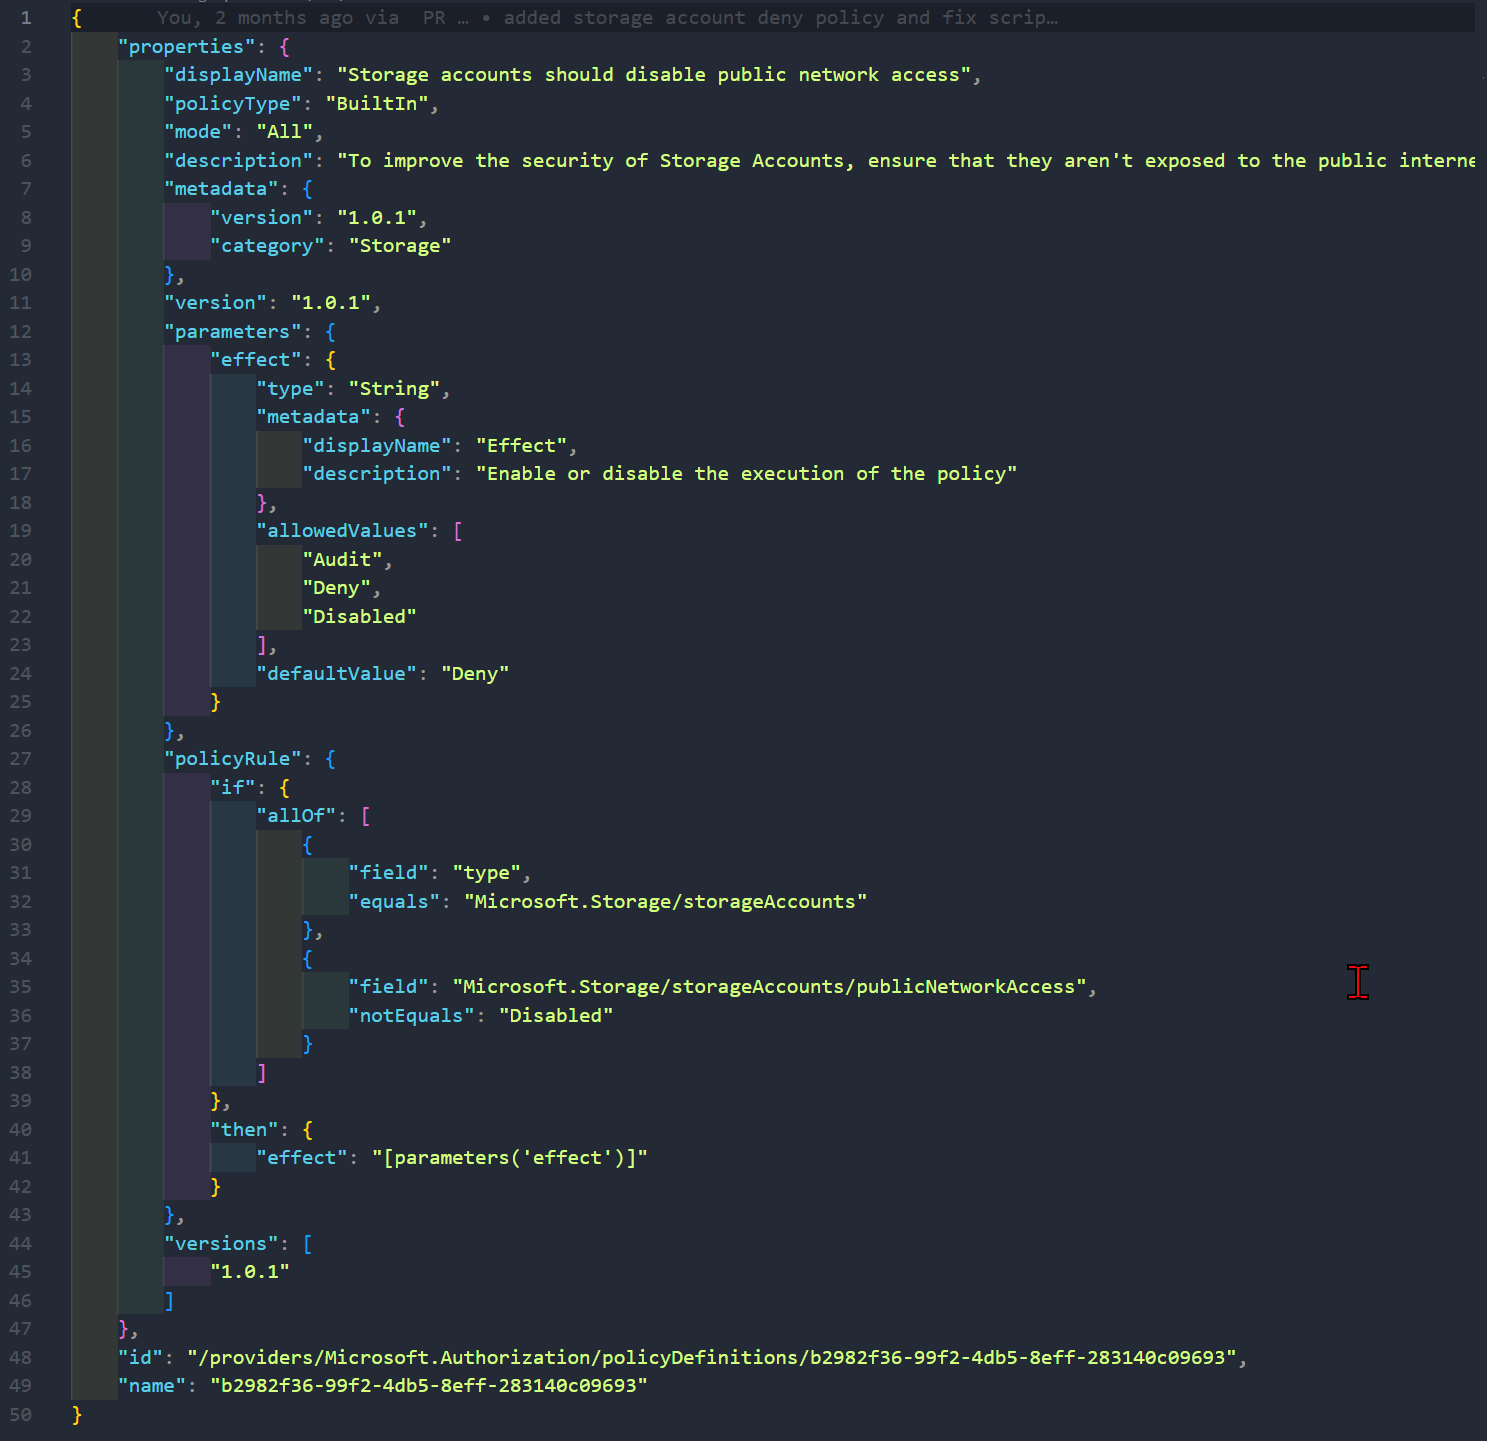
With with Default Settings of indent-rainbow Extension · Screenshot from VSCode
I wanted to have colored lines instead.
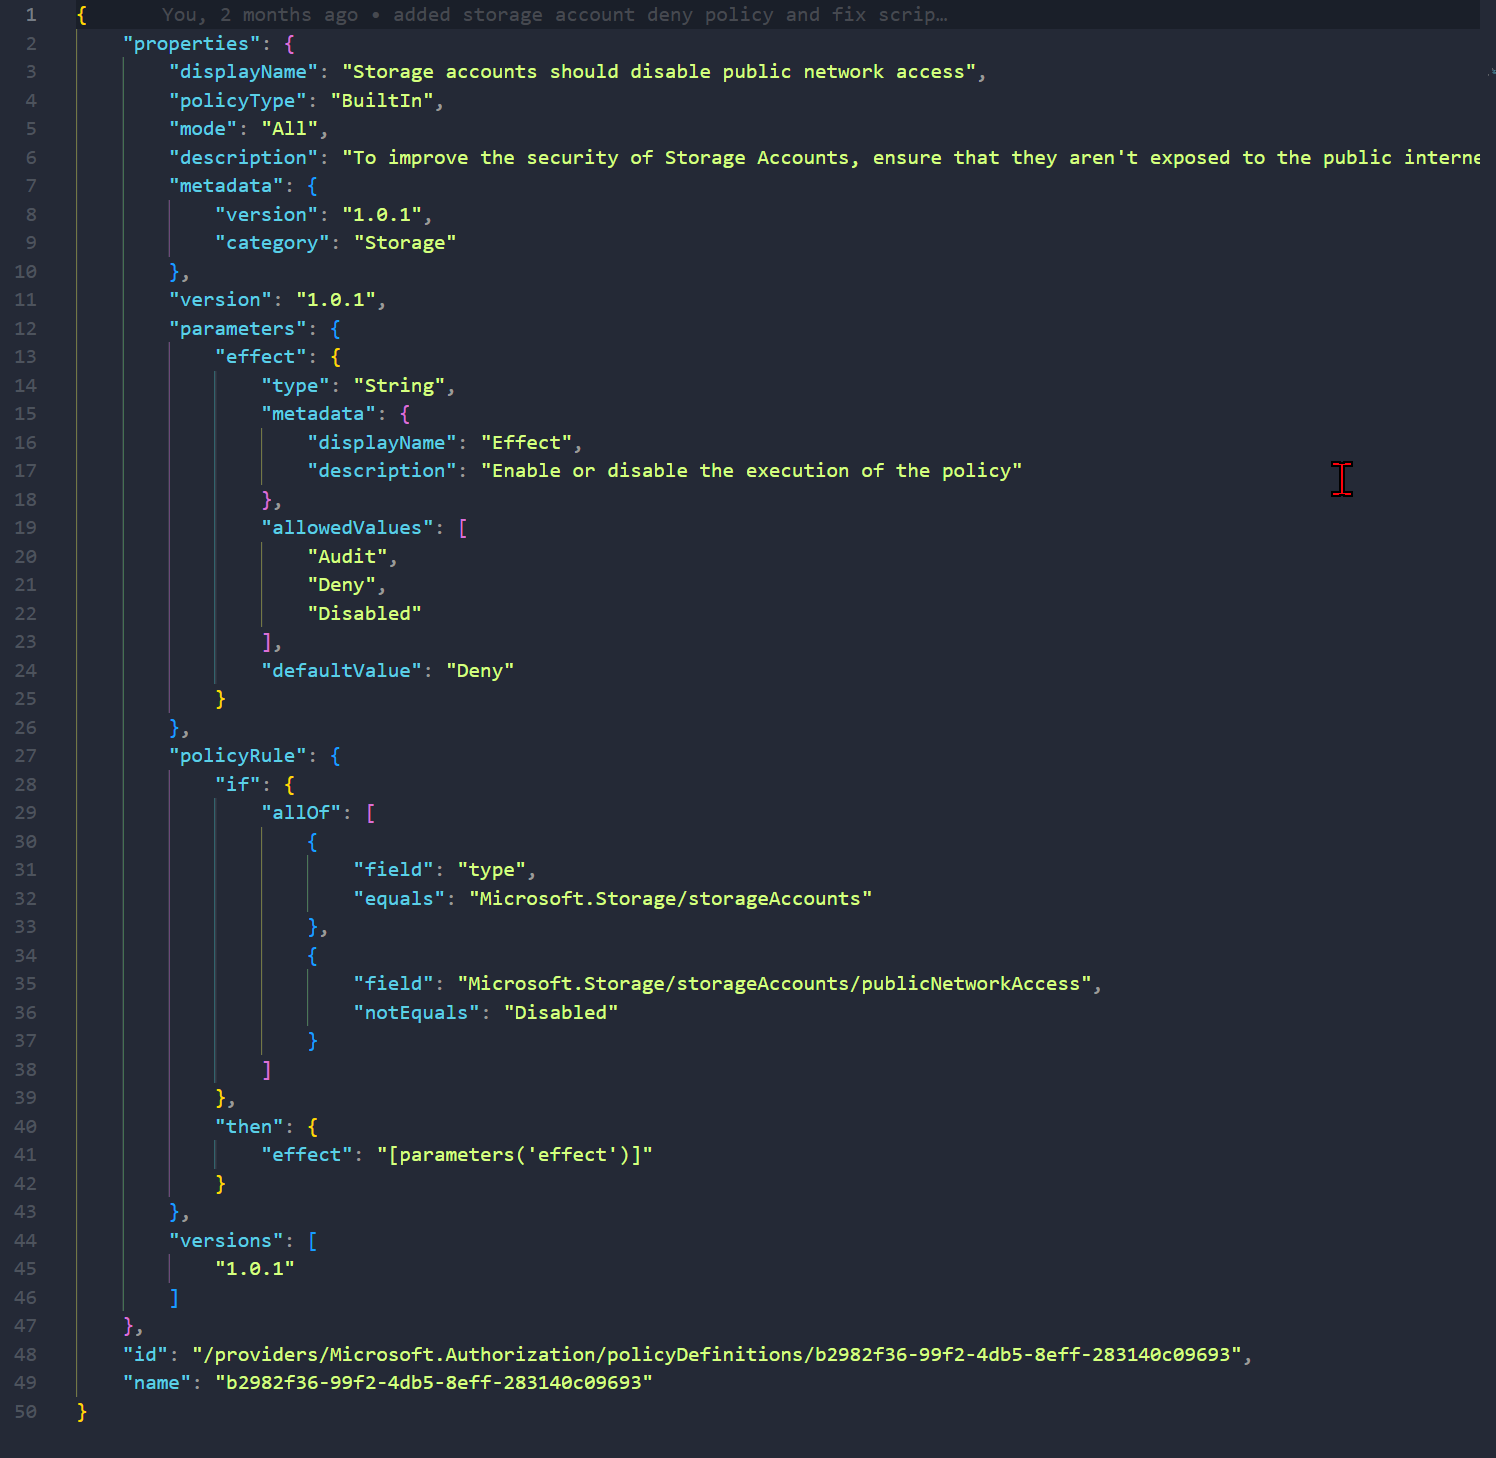
View with Updated Settings of indent-rainbow Extension · Screenshot from VSCode
I decided to put together these steps so that next time I need this setup, I won’t have to search the internet again. Some of you may find this blog post useful as well.
Extension Installation
I’m not going to cover how to install the extension because it’s like any other VSCode extension. Instead, I’ll just leave the link to Marketplace here so it’s easy to grab in the future.
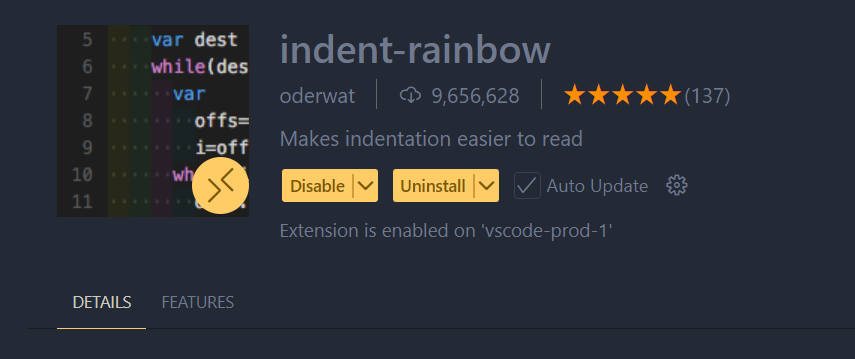
Indent-Rainbow Extension · Screenshot from VSCode
Extension Configuration
Once the extension is installed, go to VSCode preferences: File -> Preferences -> Settings (on Windows).
In the search bar, type the following text and click on “Edit in settings.json”:
| |
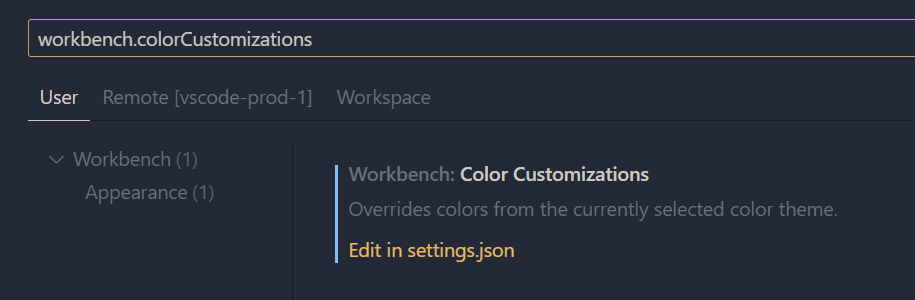
VSCode Settings · Screenshot from VSCode
In the file, search for indentRainbow.indicatorStyle. Paste the following code:
| |
Alternative Approach
If you don’t want to install an additional extension in VSCode, you can use the built-in feature “Highlighted Indent Guides.” This has been available since version 1.23, check VSCode v1.23 Release Notes for additional details.
To enable this, go to the same settings.json file and add the following code:
| |
You can update the hex codes of the colors to whatever you like. Here’s what this setting change looks like our my sample json file.:
View with Built-in VSCode Settings · Screenshot from VSCode
Summary
Regardless of which option you choose — whether the indent-rainbow extension or the built-in app functionality — your files and code will be easier to read and troubleshoot if needed. Enjoy and share your favorite VSCode extensions in the comments section below!